

Sept. 30th & Oct. 1st- Album Recreations/Movement As A Principle of Design/Levels & Fruit Drop
- Nicole Pollard
- Sep 29, 2024
- 2 min read

Updated: Oct 1, 2024
Observatory Images
Take a few minutes at the beginning of class to submit any pictures you're proud of to the Mt. Wilson Observatory media album in Schoology. Everyone should submit at least three!
Album Recreation
Your album recreation project is due on FRIDAY! You should either be editing in Photoshop (remember it's a 12x12 canvas), OR you should be shooting.
Movement
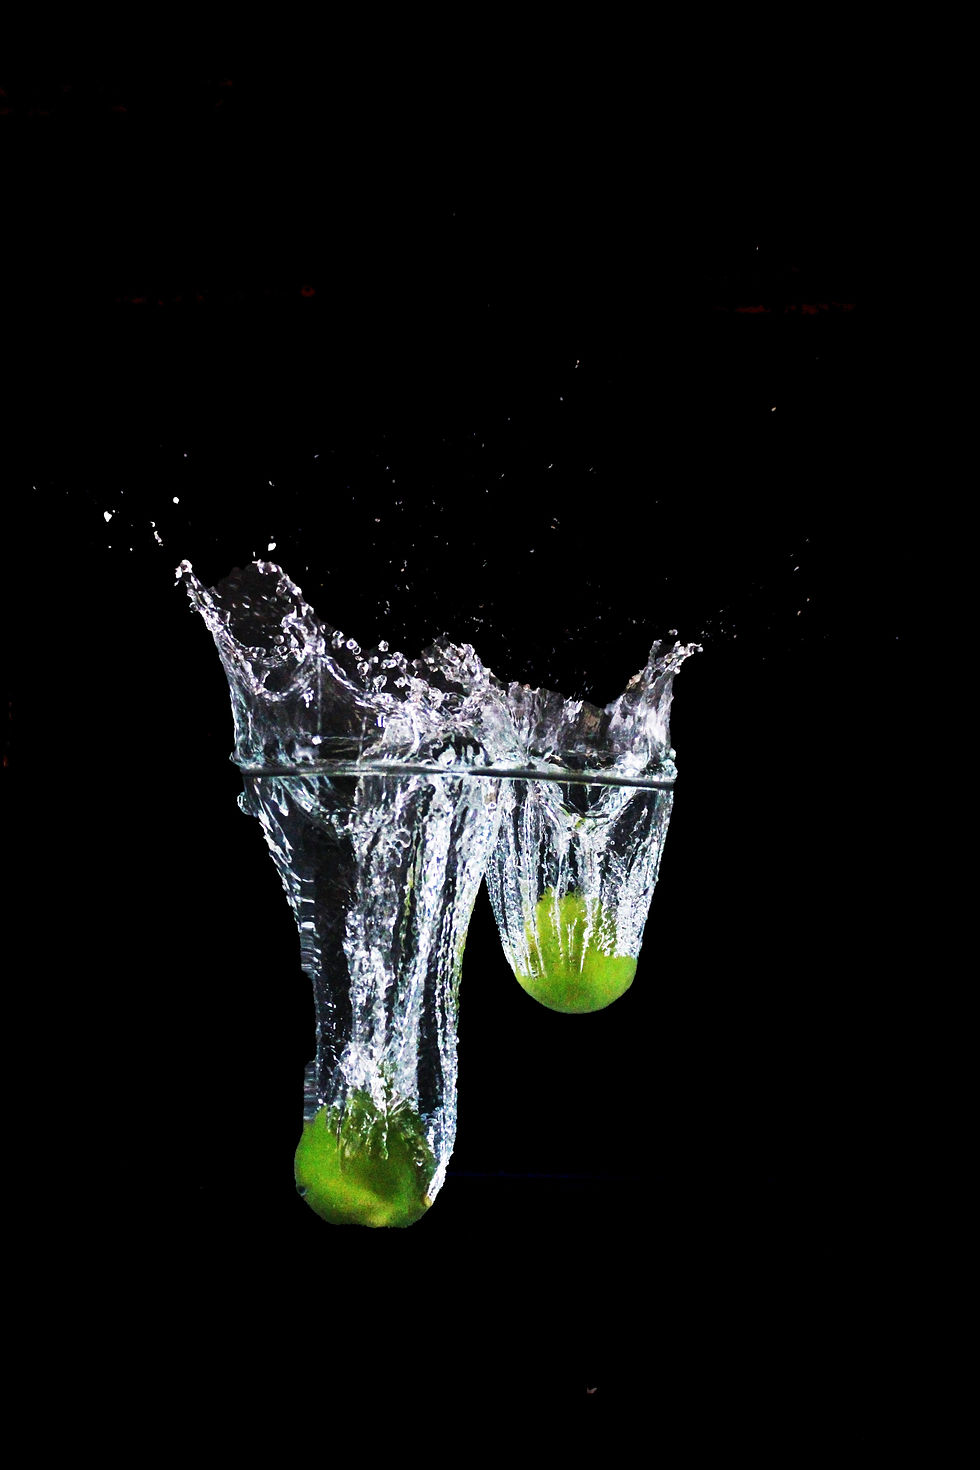
To create a striking photograph of a lemon dropping into a glass of water, start by setting your camera to a high shutter speed, such as 1/1000 second or faster, to freeze the motion of the splash. Use a narrow aperture, like f/8 or f/11, to ensure a wide depth of field that keeps the entire splash in focus. Adequate lighting is crucial; position a bright light source, such as a strobe or continuous light, to the side or behind the glass to illuminate the water droplets and create a dramatic effect. Ensure your ISO setting is low to minimize noise. In photography, movement is a vital element as it brings dynamism and energy to an image, transforming a simple scene into a captivating moment frozen in time. By effectively capturing the motion of the lemon and water, you convey the liveliness and spontaneity that make the photograph engaging and visually interesting.

Head to a station with a group of three.
Take turns dropping the fruit into the water and shooting it
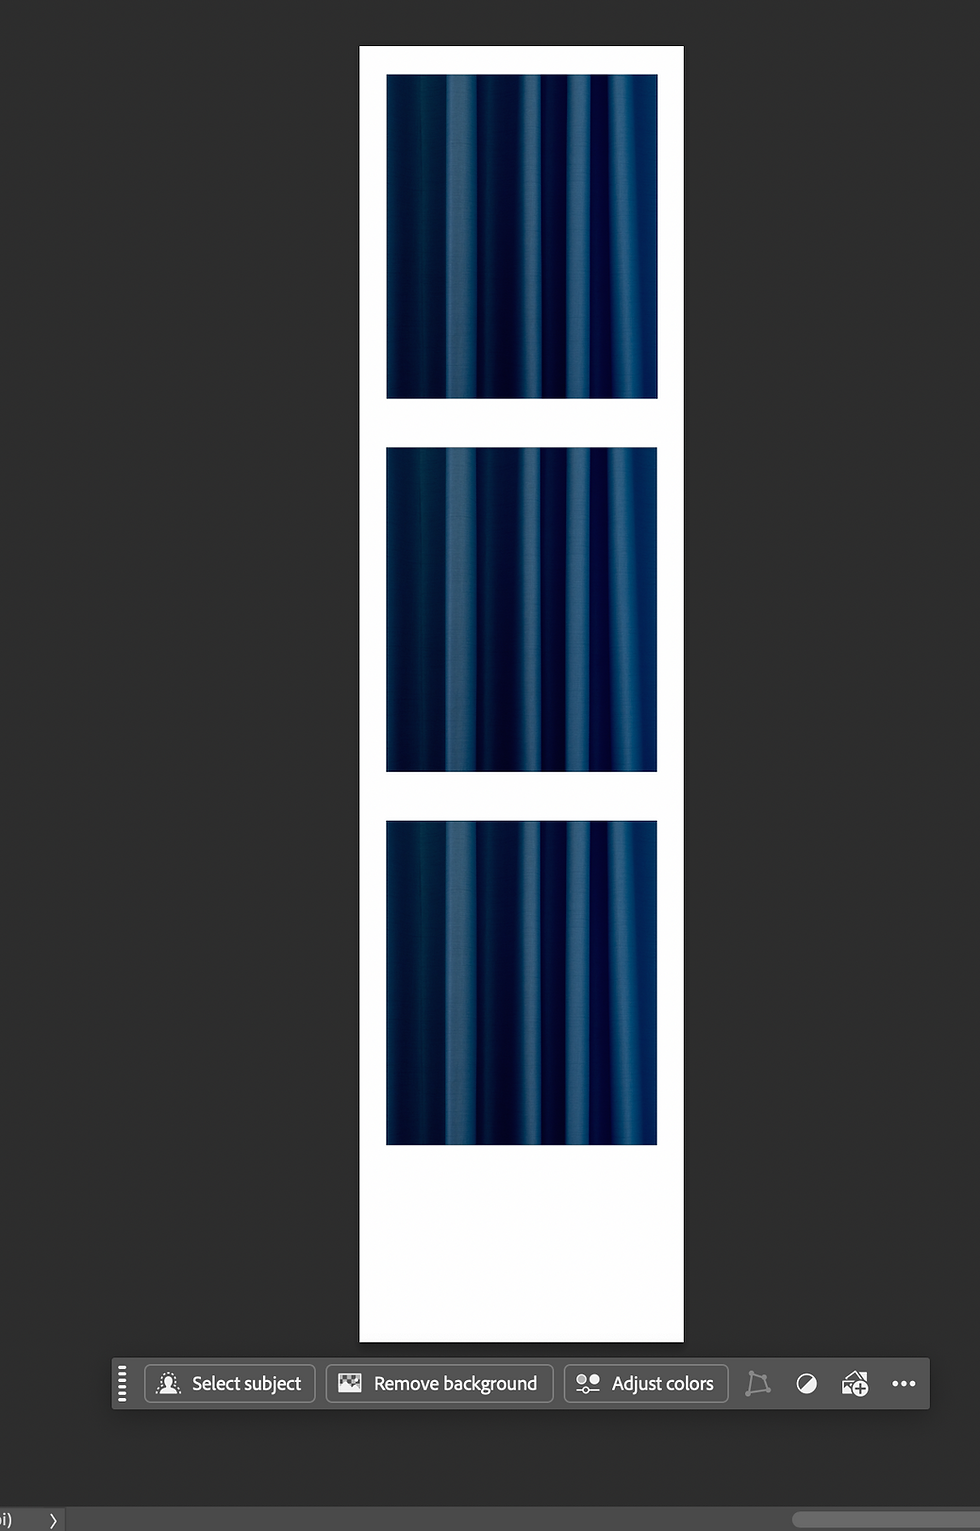
Return to photoshop to adjust your levels
Levels:
The Levels feature in Photoshop is a tool used to adjust the brightness, contrast, and tonal range of an image. It allows users to manipulate the shadows, midtones, and highlights by adjusting the sliders on a histogram, which represents the image's tonal values. To use the Levels feature, navigate to Image > Adjustments > Levels. In the Levels dialog box, you can move the sliders under the histogram to change the input levels, enhancing the image's overall appearance by fine-tuning the balance between light and dark areas.

In Photoshop, a levels histogram is a visual representation of the tonal range of an image. It displays the distribution of pixels across different brightness levels. Here’s a brief explanation of highlights, shadows, and midtones on a levels histogram:
Highlights: These are the brightest parts of the image, represented on the right side of the histogram. Adjusting the highlights can brighten or darken the lighter areas without affecting the shadows and midtones.
Shadows: These are the darkest parts of the image, found on the left side of the histogram. Modifying the shadows will alter the dark areas, making them lighter or darker, while leaving the highlights and midtones relatively unchanged.
Midtones: These are the middle brightness levels, occupying the center of the histogram. Adjusting the midtones affects the overall brightness and contrast of the image, providing a balanced adjustment that influences both shadows and highlights.
Understanding how to manipulate these three components on the histogram allows for precise control over an image’s exposure and contrast, enhancing its overall quality and visual appeal.
BEFORE EDITING or your SOOC (Straight out of the camera)

After Editing


Comments