

Jan. 18th & 19th
- Nicole Pollard
- Jan 16, 2023
- 1 min read

Updated: Jan 18, 2023
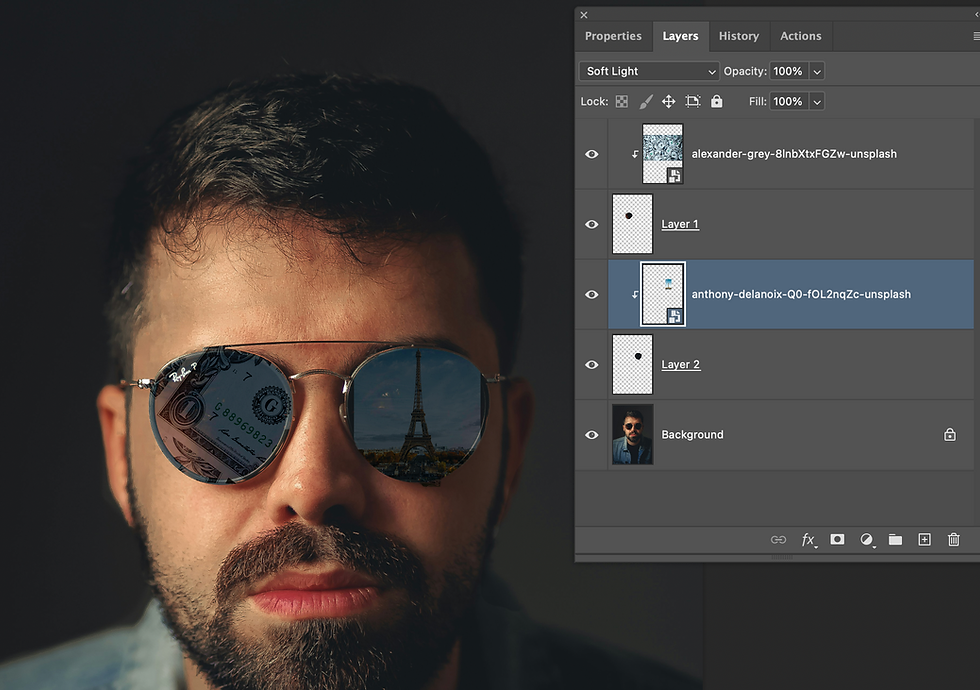
Ripped Paper Effect Edit

RIPPED PAPER EFFECT TUTORIAL
Open up the image titled “woman face”
Go to your layer panel. Choose ADD IMAGE. Add the “textured paper” image.
Go to your layer panel. Choose ADD IMAGE. Add the “cat” image. Size it down by dragging the CORNER. Place it over the woman’s eyes.
Lower the opacity of the cat to make sure it lands where the woman’s eyes are, then increase the opacity back up to 100%.
Go to your layer panel. Choose ADD IMAGE. Add the ripped paper1 and ripped paper 2. Adjust them so they are around the cat’s eyes.
Use the CUTOUT/MASK tool to remove excess paper on the “ripped paper” layers.
Click on the cat layer, and use the CUTOUT/MASK tool to remove the excess cat image
Flatten the image
Go to FILTER, EFFECTS LIBRARY. Choose a filter of your choice.
2. Outdoor Shooting
Take a photo of a classmate, and have them take a photo of you. Make sure your background is SOLID and/or pleasing to the eye (no trash cans or superfluous items). You can use the walls of NAHS, or the greenery down by the grass.
Your subject should be facing the camera dead on. No profile shots.
Shoot your subject PORTRAIT, NOT landscape.
Choose an animal image from unsplash.com
Repeat the steps from the previous tutorial with your own image, and an image of your "spirit animal"


Comments